A friend recently asked if I would sew some patches on her husbands leather bike vest- a reqest that both excited and terrified! I have been teaching myself quilting lately, and happily learning more to add to the sewing basics my mother taught me.
I, like others who love to sew, dreaded working with leather, having heard how much of a bugger it was to work with, yet I also lusted at the thought of customized leather goods. So, with much trepidation, I turned to that much beloved time- suck- Pinterest. I found wonderful information on needle sizes and thread (learned that Cotton thread apparently reacts to tanins in leather and thus should be passed over for another choice, in my case, 100% polyester) and proceeded to carefully look at this expensive vest in the hopes that I could avoid pulling any stitches from the leather. The vest has multiple pockets, both outside and inside, and I needed them all to be functional by the end of this endeavor.
A little background… I love to sew, but need lots of practice before I can be happy with what I create. My sister, makes these beautiful creations and has run a sewing business for many years, managing to decider much of the instructions that I believe should have been included as an additional side of the Rosetta Stone. Instructions on making darts or modifying patterns look like hieroglyphics to me, such as it were.
Anyhoodles, I was able to install the first patch on the front right shoulder without endangering pockets, by way of going through the liner seam- the white edge. This is after I hand stitched it back up using another instructional pin on the back stitch (my hand sewing is rather atrocious).
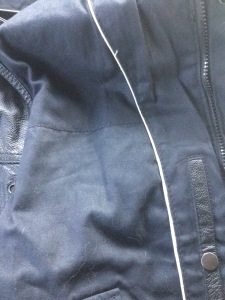
re-stitched seam, please ignore the cat fur.

fully sewn on
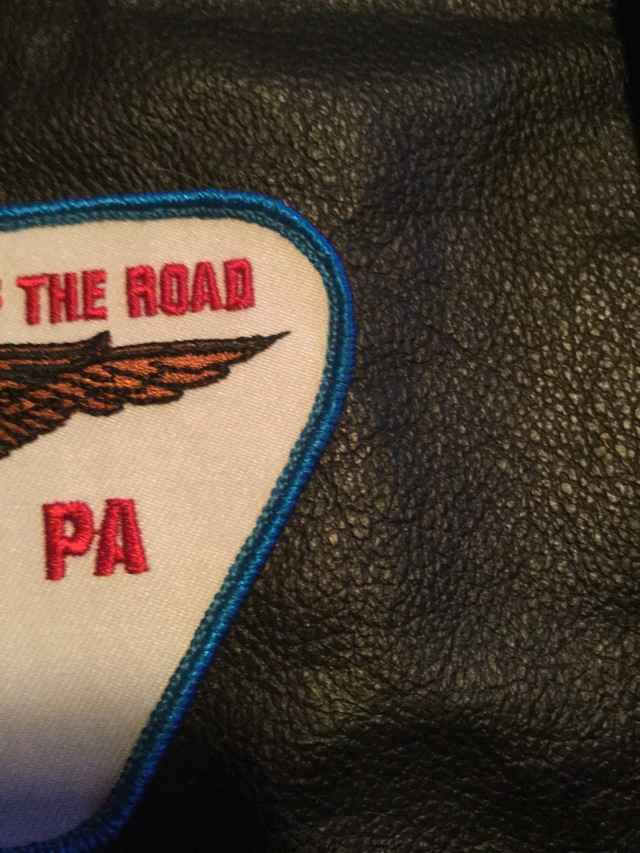
The finished patch! Thanks to a gutermann thread board as a Christmas gift years ago, I had yellow thread that closely matched the outside edge. I sewed on the inside of the patch boarder, trying very hard to make sure my needle went in the holes of the patch border. The resul: my husband told me he couldn’t tell this had been sewn on.
Now, my biggest problem. Trying to get the vest under the presser foot without scratching leather or having the patch shift. You can’t pin leather, those holes don’t close and are there forever. So, I tried a pin suggestion of using scotch tape. That so did NOT work. It made me too nervous and the patch kept moving with all the manhandling I was giving that leather. So, now what? I then read about spray adhesive!!!! It’s a big thing in quilting, and someone suggested gluing the patches on before sewing them.
It worked beautifully!
I found some elmer’s multi-purpose spray adhesive At the local dollar general and I was able to make small adjustments after I used it. I had to wait for it to dry, but the peace of mind was well worth the wait. It did come off if pulled hard enough, and dries pretty clear.
The second patch was a little trickier, as placement was on top of two pockets, an inner and an outer.

patch that is drying from the glue.
The inside pocket was also anchored by another fabric strip seven into a seam. I pulled probably around 10 inches of stitches out of the lining, but it gave me enough room to shift pockets and leather out of the way.
the finished patch
Here it is! I didn’t have as close a color match with this thread, so you might be able to see my stitches along the interior blue edging. I put white thread in the bobbin to match the background.
The longest part was sewing back the lining, making sure I out the pockets back where they belong. Removed cat hair, and it’s done. Returned the vest, my friend’s hubby was very happy!

Thoughts:
My first project with leather was both terrifying, yet addicting. My sister convinced my dad to buy a presser foot collection with my sewing machine as a gift, which has been a Godsend. I had a Teflon coated foot that didn’t stick to the leather.
I want to make more!
Moving the leather worked easier once I lower my feedogs. Mi e are lowered by a switch which made this easy. Any time I had to rotate the vest, I’d put my need down, lower the feed dogs and the. Switch them back. I’d rotate the vest and start sewing again, because my feed dogs don’t come back up until the needle starts moving again. That way. They didn’t scratch the leather.

Pingback: Sewing blog- sewing patches on leather | My Cooking Exploitz